What really happens during mold remediation? Whether you’re hiring professionals or just wanting to understand the process, knowing each step helps you monitor progress, ask the right questions, and ensure quality.
Why a Step-by-Step Process Matters
Mold remediation is more than spraying fungicide and throwing out affected drywall. A methodical process ensures:
- Containment of spores
- Removal of hidden mold
- Safe reentry
- Lower risk of mold returning
Skipping or combining steps can compromise results. Below is a common best-practice framework used by many professionals.
Step-by-Step Breakdown
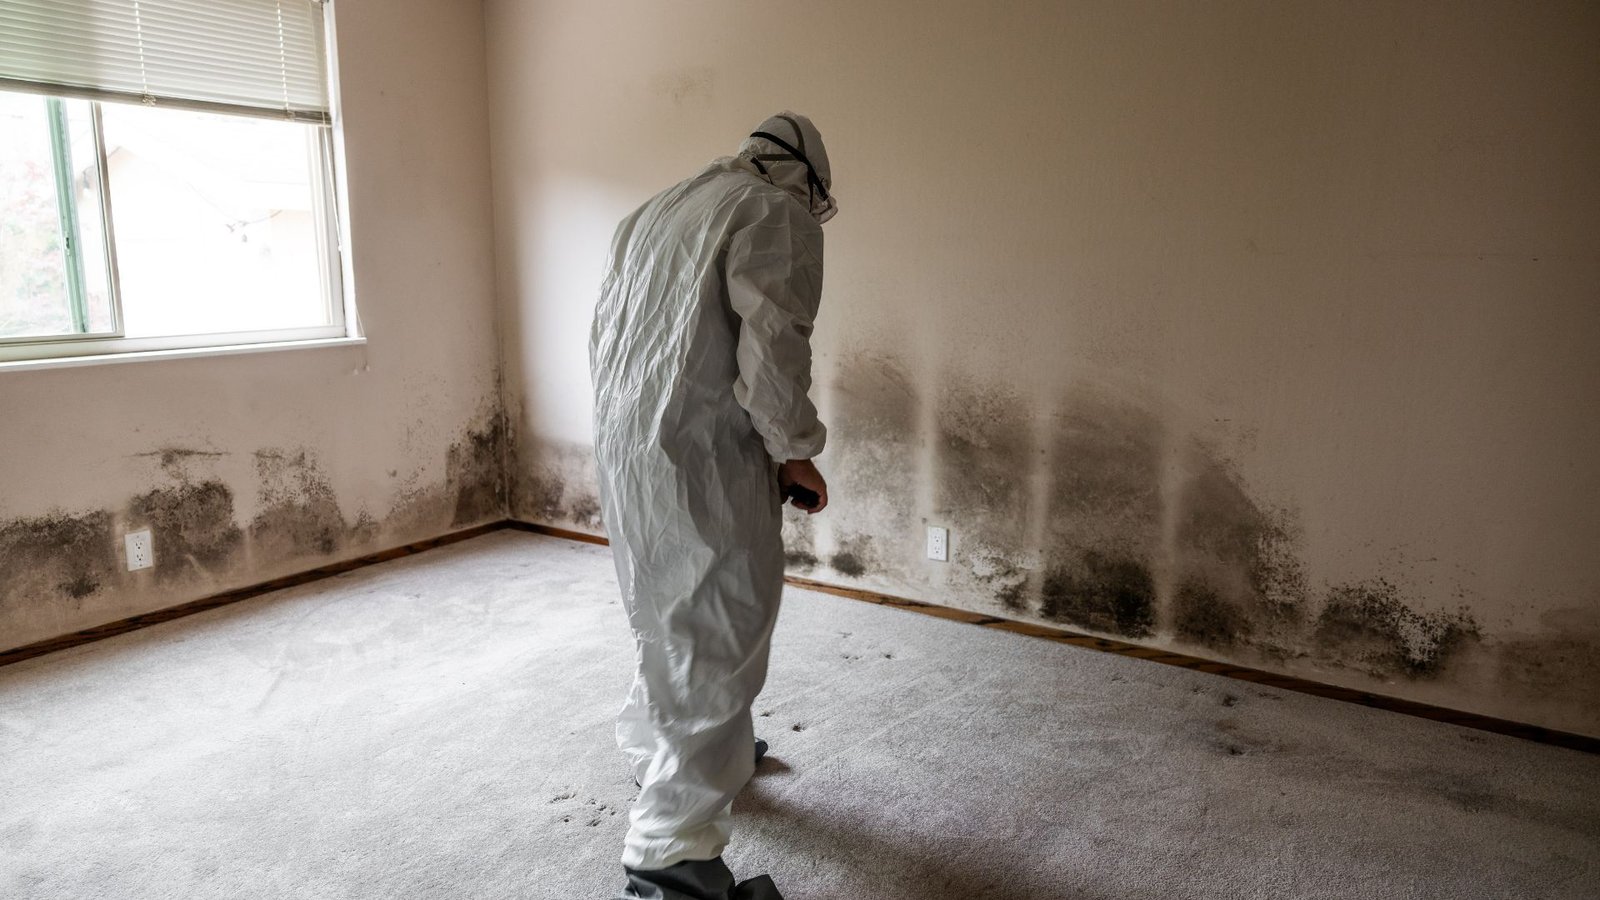
- Pre-Assessment & Inspection
- Visual survey, moisture mapping, sampling, and documentation
- Planning & Strategy
- Define work zones, safety protocols, and remediation goals
- Containment & Isolation
- Seal work area, use negative air pressure, and protect unaffected zones
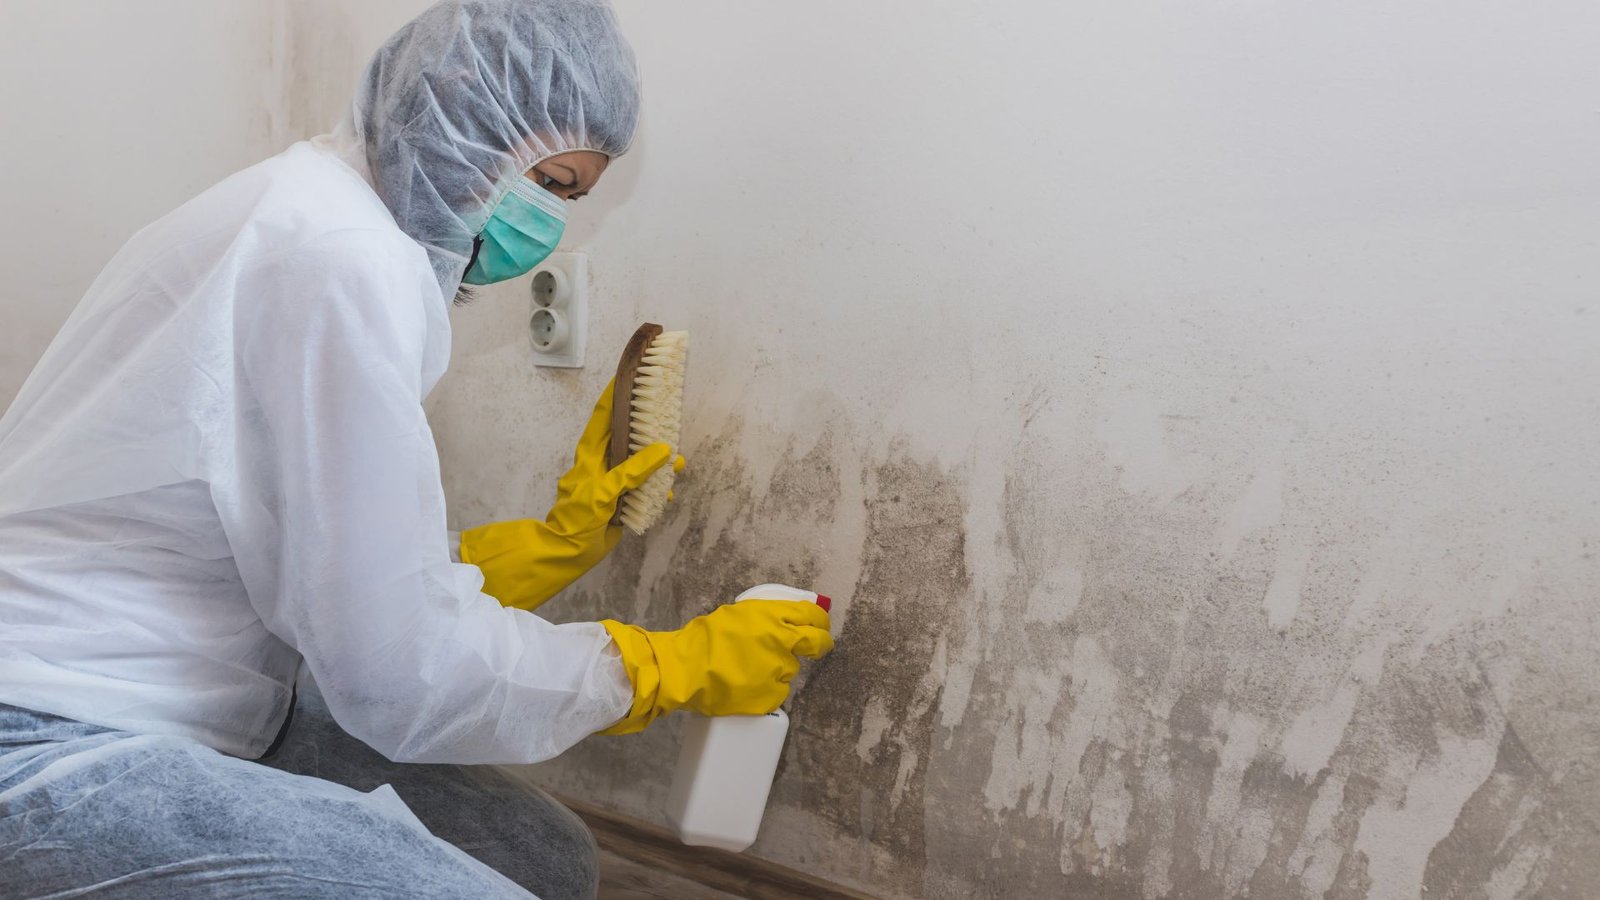
- Removal & Cleaning
- Discard unsalvageable materials, clean surfaces, use HEPA vacuums
- Drying / Dehumidification
- Dehumidifiers and air movers restore safe moisture levels
- Encapsulation / Preventive Treatment
- Fungistatic coatings or mold-resistant finishes applied
- Clearance & Validation
- Testing ensures air quality and moisture levels are acceptable
- Rebuild & Restoration
- Replace drywall, flooring, paint, and finishes
Tips & Best Practices During Remediation
- Confirm negative pressure protocols are followed
- Ask whether HEPA filtration will be used
- Verify moisture levels post-remediation
- Request detailed restoration plan documentation
Final Word
The mold remediation process is a multi-stage, disciplined effort. Each phase matters — from inspection through rebuilding — to ensure the job is done once and done right.
👉 Explore our mold remediation services or connect with us directly via our contact page.